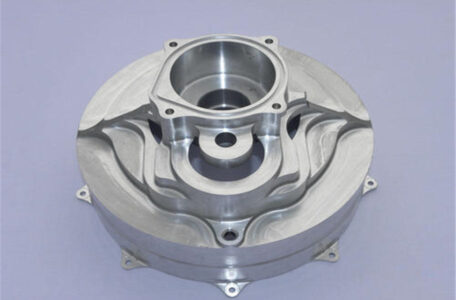
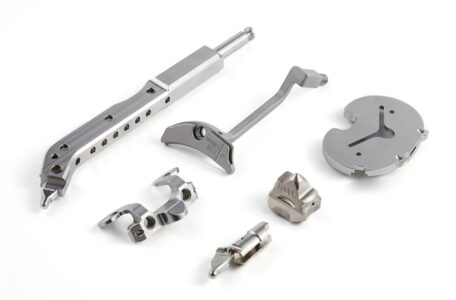
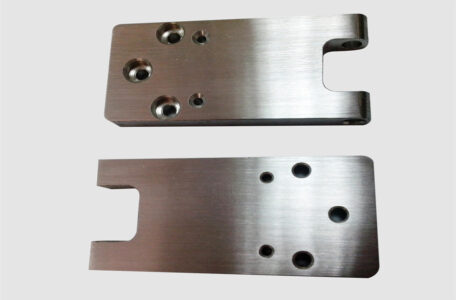
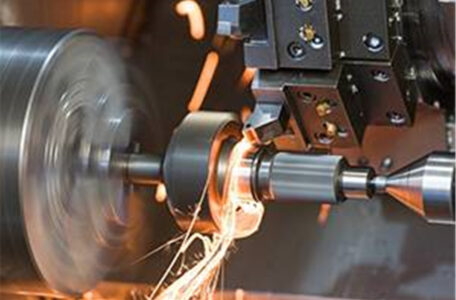
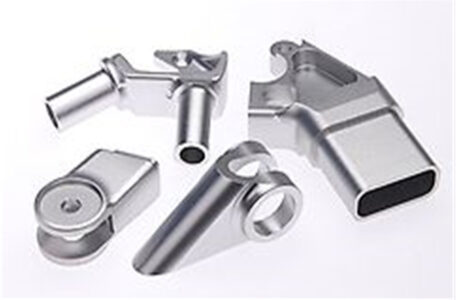
In the actual production of milling processing, including CNC machining tool setting, workpiece clamping, tool selection and other application skills, today I briefly summarized the main points of milling processing for everyone, it is worth seeing!
Several thread processing methods commonly used in CNC machining centers!
The knowledge that CNC engraving and machining must learn!
What are the common methods of mold polishing?
What should I do if plastic injection molding is incomplete?
EVA foaming process and EVA foaming molding processing method
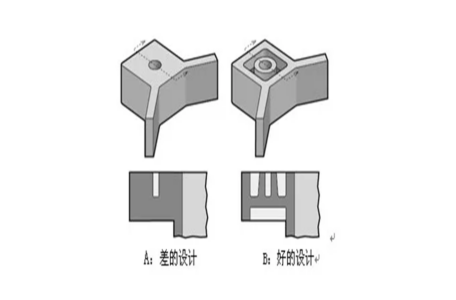
Key points of plastic machining structure design
The whole process of a product from research and development to the market needs to go through many links, among which the product structure design is an important part. In terms of product structure, the product must be manufactured and mass-produced with a mold for the product, and a plastic mold for plastic parts. Therefore, a product structure design engineer must not only be familiar with the structure of plastic parts, but also have a certain understanding of plastic molds. Today I will share with you 14 key points of plastic product structure design~
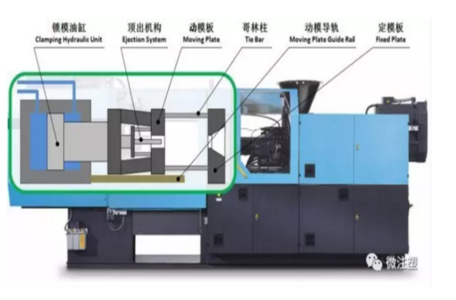
Injection molding machine clamping parameters setting
Start clamping 1. Start clamping pressure: The initial setting value is 25. When the pressure is too small and the speed is too slow, you can try to increase the speed. This pressure is too small, and the speed cannot be increased to the speed when needed. The speed is increased by +5 each time. Try and pay attention that when the pressure is set to a large value, the movable template will be instantly increased by high pressure to change the static state and become moving, so that the movable template hole and the tie rod will generate huge friction, which will accelerate the wear of the machine’s movable template hole and tie rod for a long time. The stability and precision of the movement of the movable platen decreases, which may affect the production of individual molds with higher precision requirements for the clamping mechanism.
Introduction to the processing technology of crystalline plastics
The crystallinity and crystal form of crystalline plastic affect the physical and mechanical properties of the product. If the cooling rate during molding is slow, it is conducive to the progress of crystallization and can increase the degree of crystallinity. Therefore, it is extremely important to control the mold temperature to obtain products with excellent mechanical properties and good surface gloss.
The main factors affecting the processing accuracy of plastic molds
1. Dimensional accuracy refers to the degree of conformity between the actual size of the processed part and the center of the tolerance zone of the part size. The dimensional accuracy is controlled by the dimensional tolerance. The dimensional tolerance is the allowable amount of variation in the size of the part during mold processing. In the case of the same basic size, the smaller the dimensional tolerance, the higher the dimensional accuracy.
- ABS Machining
- Ceramic Machining
- PA6 Machining
- PAI Machining
- PC Machining
- PCTFE Machining
- PEEK Machining
- PEI Machining
- PET Machining
- PI Machining
- PMMA Machining
- PP Machining
- PPS Machining
- Teflon Machining
- PU Machining
- PVC Machining
- PVDF Machining
- UHMW Machining
- UNILATE Machining
- POM Machining
- PTFE Machining
- Intrinsic Viscosity Of Polyetheretherketone (PEEK)
- The Development Of 3D Printing In China
- Advantages Of 3D Printing Technology In China
- 3D Printing Service And Device In China
- Guidelines for Best Available Techniques for Electroplating Pollution Prevention and Control Released
- The new standard changes the ecology of the electroplating industry
- Electroplating wastewater treatment process and principle of heavy metal removal
- Research and Analysis of the Recent Development of the Electronic Accessories Market
- Trends that the hardware mold industry needs to understand to keep up with the international pace
- Inventory of new trends in auto parts technology
- Intrinsic Viscosity Of Polyetheretherketone (PEEK)
- The Development Of 3D Printing In China
- Advantages Of 3D Printing Technology In China
- 3D Printing Service And Device In China
- Guidelines for Best Available Techniques for Electroplating Pollution Prevention and Control Released
- The new standard changes the ecology of the electroplating industry
- Electroplating wastewater treatment process and principle of heavy metal removal
